Rockwool Panel Joint Installation
Rockwool panel joint installation: tongue-and-groove, male-female and centre-aluminium joints in company wording, without added installation dimensions.
- Machine-made panels: tongue-and-groove joint, 1150 type.
- Handmade panels: male-female joint, or centre-aluminium joint.
- No installation dimension, fixing spacing or tolerance figure is stated on this page.
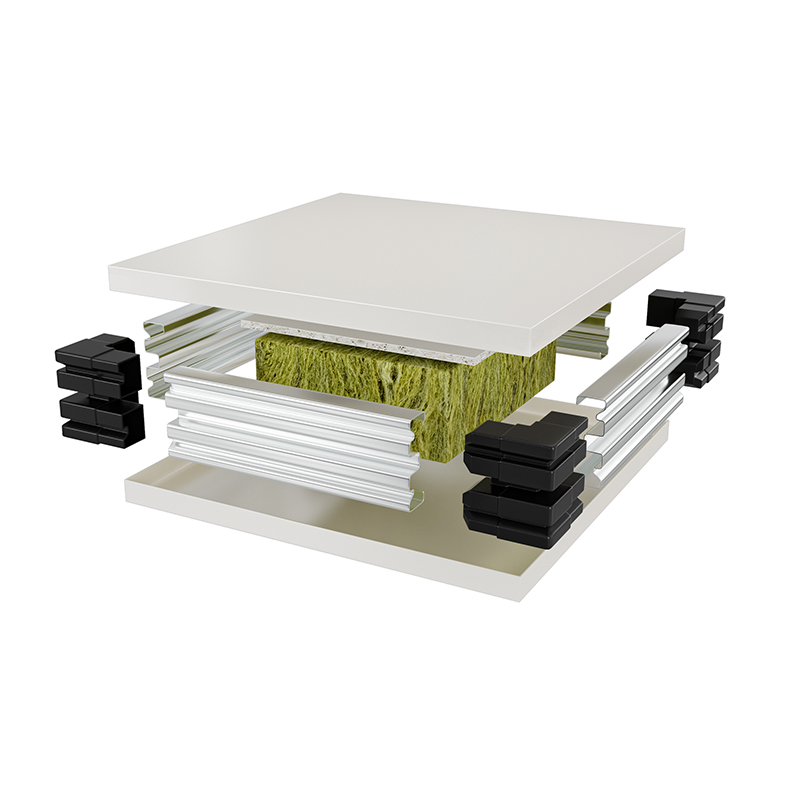
Three joints, three routes
Machine-made rockwool panels use a tongue-and-groove joint: each panel's tongue enters the next panel's groove, giving a continuous joint line along a straight wall or ceiling run. Handmade rockwool panels use a male-female joint, in which a projecting edge fits a receiving edge, or a centre-aluminium joint, in which a full female opening is fitted with a centre-aluminium profile. The joint is not an accessory chosen after the panel: it belongs to the route, and it affects setting out, corner handling and later removal of a single panel.
Setting out notes
For a tongue-and-groove run, set out panel by panel in a straight line and plan corners, door openings and ceiling junctions separately, because the joint line must be carried around them deliberately. For a male-female or centre-aluminium run, plan the joint at each panel edge and at each opening, and list pre-formed openings and conduit routes for handmade panels with the schedule. This page gives no fixing spacing, screw pattern or joint tolerance, because the company materials used for this site give none of those values for these joints. Installation support, including guides and videos and, where needed, on-site support, is described in the company service materials; ask for the installation guide for the exact joint type in your inquiry.
The parallel installation guide in the guides section explains the same joints in article form.